Last Updated on February 7, 2023 by ellen
Looking for a new sew dog bed for small dogs? It’s hard to find a good bed for your dog. Make this easy no sew fleece pet bed for a toy dog breed.
Posts may be sponsored. This post contains affiliate links, which means I will make a commission at no extra cost to you should you click through and make a purchase. As an Amazon Associate I earn from qualifying purchases.
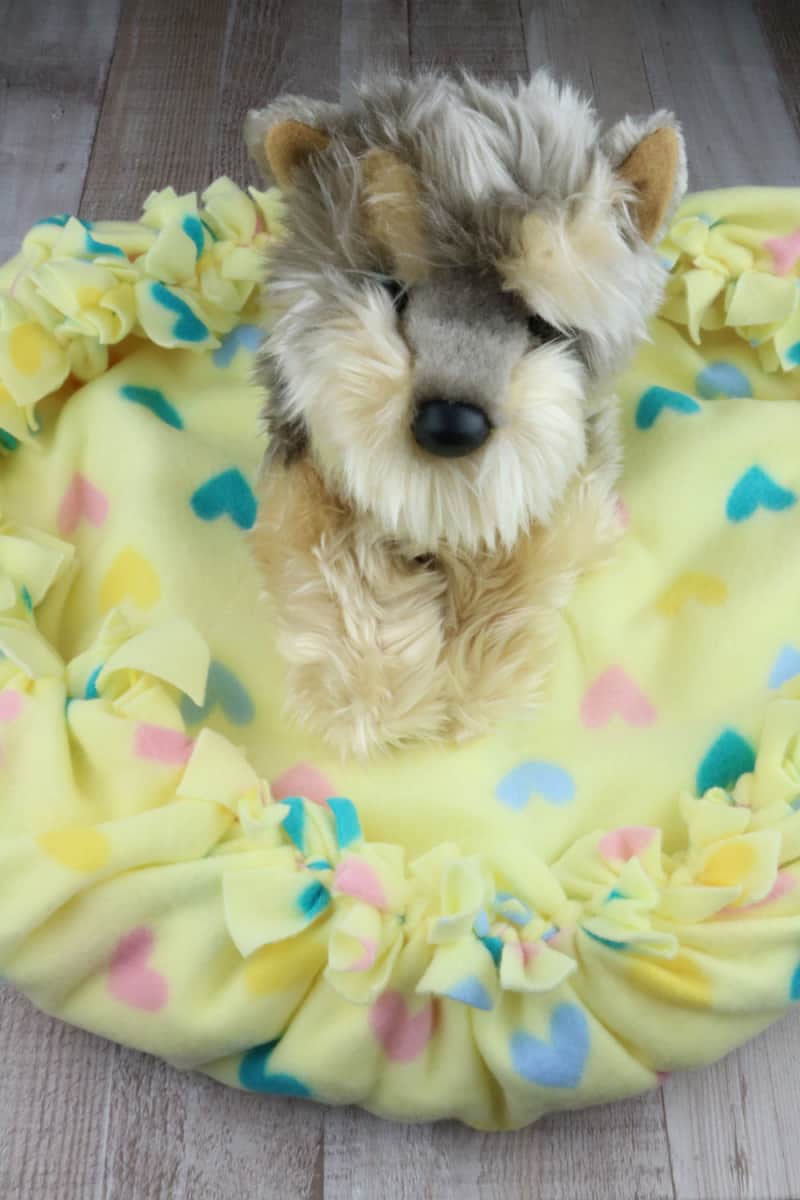
Table of Contents
No Sew Dog Bed
Most beds are either too small or too big and often they’re uncomfortable for dogs because of the material they’re made from.
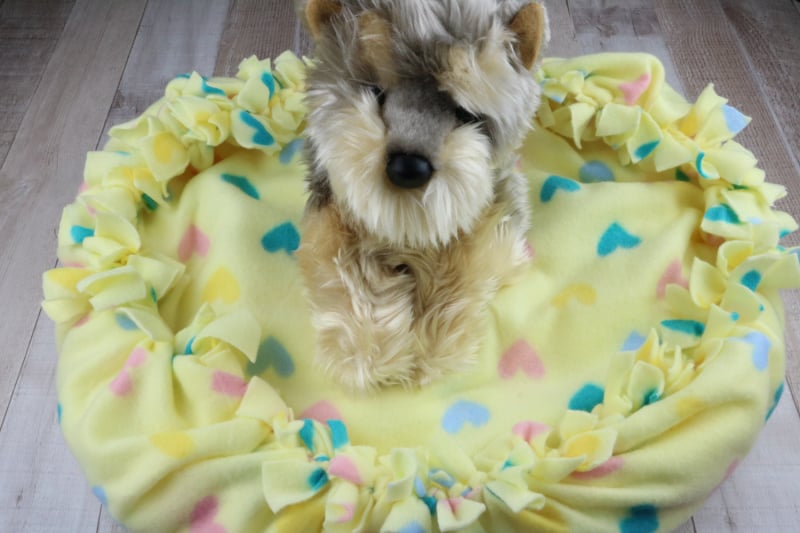
This no sew dog bed solves all these problems! The fleece is soft enough that even older dogs will enjoy it but tough enough that puppies can’t tear it up.
And you don’t have to be an expert sewer – just follow these step-by-step instructions and you’ll be able to make one in 30 minutes or less!
This simple pattern makes a comfortable bed with non-slip backing so your pup won’t slide off when he sleeps on his side. It’s perfect for smaller pups like Chihuahuas, Yorkies, Maltese Terriers, and more!
You can also use this pattern as a base layer if you want to put another comforter on top of the fleece (like wool).
Materials
Everything you need to make this no sew dog bed can be found at Dollar Tree. If you would prefer to go to your local craft store, you can certainly do that at well.
But, this is a very inexpensive project because the materials came from Dollar Tree.
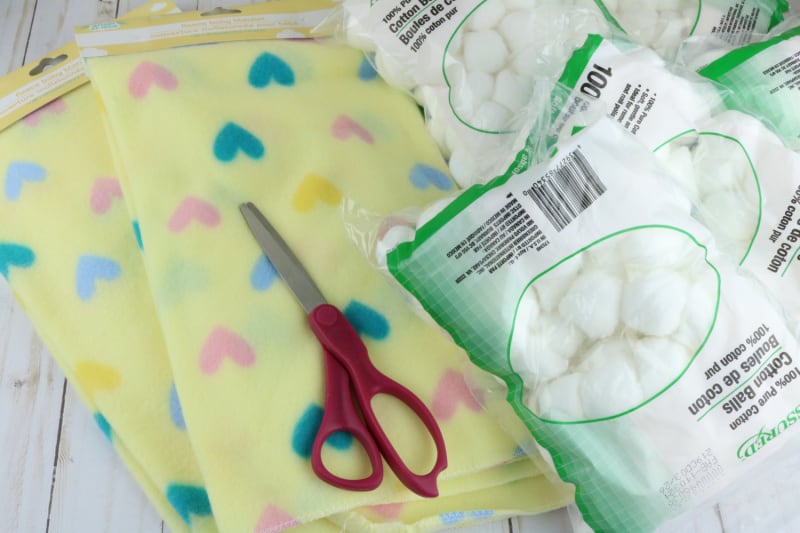
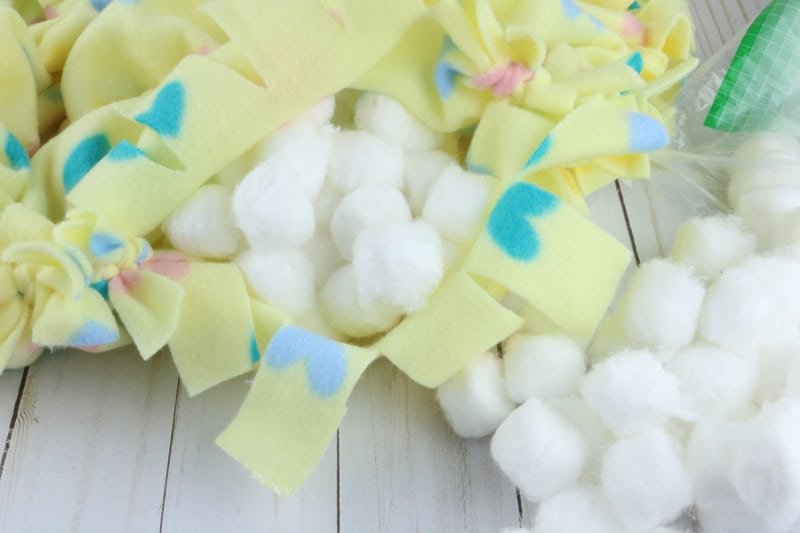
- 5 packages of cotton balls
- 2 fleece baby blankets
- Scissors
Buy Your Crafting Supplies Now at The Dollar Tree!
How do I make a no sew dog bed?
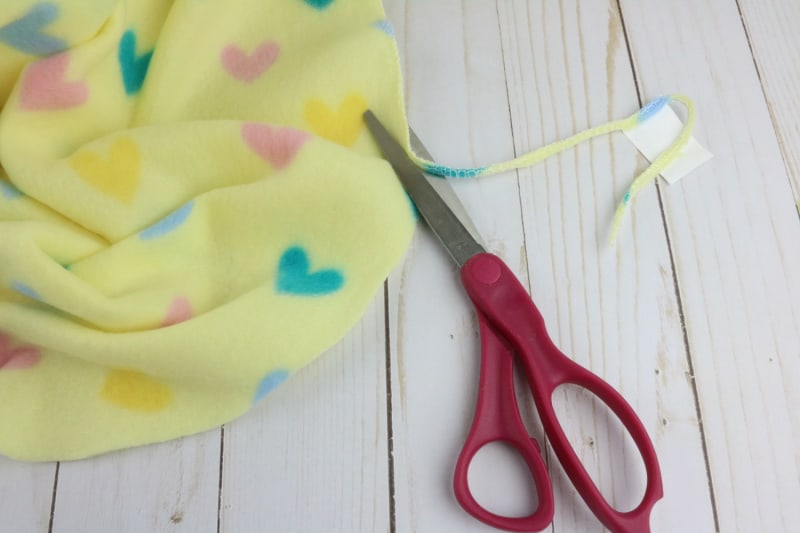
Step 1: Carefully cut off the thread edge on both blankets. You don’t want to cut much of the fabric just where the thread ends.
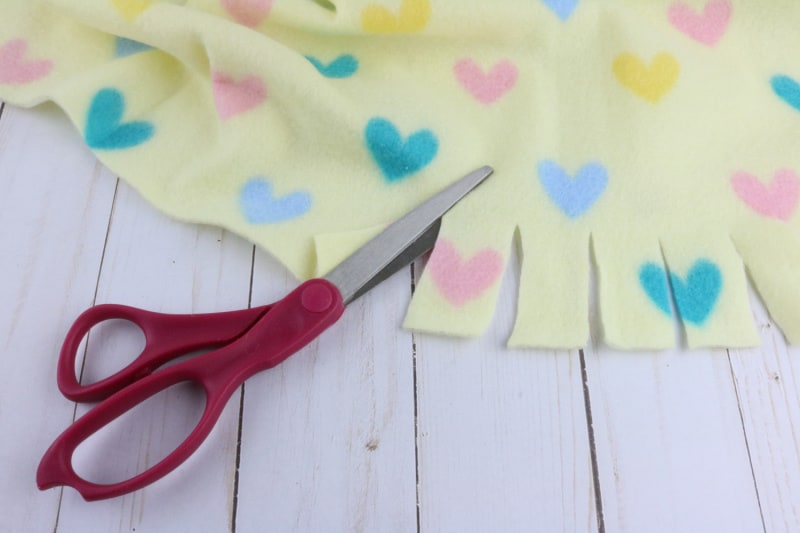
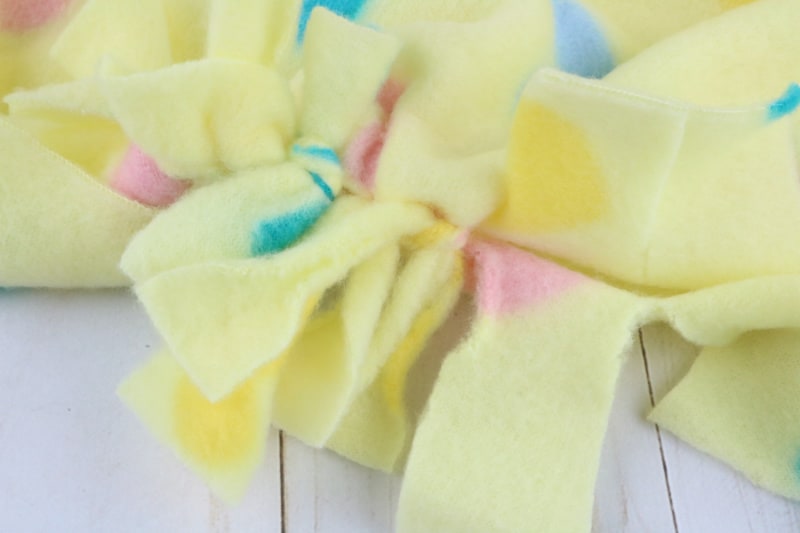
Step 2: Next, cut the edges into fringes. You want to make cuts about every inch and you want each cut to be 2-3 inches long. Do this to both blankets.
Step 3: Lay the blankets so that the shapes match. Then start to tie them together. Use one fringe from one blanket to tie to another fringe on the other blanket. Make sure you tie them tight.
Step 4: Work your way most of the way around but leave 6 or so spaces un-tied.
Step 5: Stuff the blankets with the cotton balls. You can use batting if you prefer.
Step 6: The last step is to finish closing the blanket up. Tie the rest of the fringes closed.
How to wash this dog bed
Because this simple DIY dog bed is just tied together, if you need to wash it, I would untie and wash the blanket pieces separately. Remove the cotton balls and then restuff with new ones.
If you try to wash it as is, chances are it will fall apart and the cotton will come out of the center.
Since it really only costs a few dollars to make, you may simply want to start over and make a new one.
No sew DIY pallet dog bed
If you want to make something that is more suitable for a larger dog, you can use this cover on top of a pallet. In that case, I would begin with fleece fabric and cotton batting from the craft store because of the size.

Related Reading
- DIY snuffle ball
- How to make a dog bandana
- Dog Halloween costumes you can make
- Babysitting a dog
- Easy dog crafts
- Kitty crafts
- Easiest seahorse to keep
- Homemade dog toothpaste
No Sew Dog Bed for Small Dogs
Looking for a new sew dog bed for small dogs? It’s hard to find a good bed for your dog. Make this easy no sew fleece pet bed for a toy dog breed.
Materials
- 5 packages of cotton balls
- 2 fleece baby blankets
- Scissors
Tools
- scissors
Instructions
- Carefully cut off the thread edge on both blankets. You don't want to cut much of the fabric just where the thread ends.
- Next, cut the edges into fringes. You want to make cuts about every inch and you want each cut to be 2-3 inches long. Do this to both blankets.
- Lay the blankets so that the shapes match. Then start to tie them together. Use one firing from one blanket to tie to another fringe on the other blanket. Make sure you tie them tight.
- Work your way most of the way around but leave 6 or so spaces un-tied.
- Stuff the blankets with the cotton balls.
- The last step is to finish closing the blanket up. Tie the rest of the fringes closed.

Ellen runs a small pet sitting business in southern Vermont. She has experience with a variety of small animals, dogs and cats. She has also cared for ducks, chickens and rabbits. Combined, she has over 20 years of experience in pet care and pet sitting.