Last Updated on August 4, 2023 by ellen
If your dog’s nose is rough and you’re wondering how to help, keep reading. This dog nose butter recipe is the perfect way to soothe their nose.
Posts may be sponsored. This post contains affiliate links, which means I will make a commission at no extra cost to you should you click through and make a purchase. As an Amazon Associate I earn from qualifying purchases.
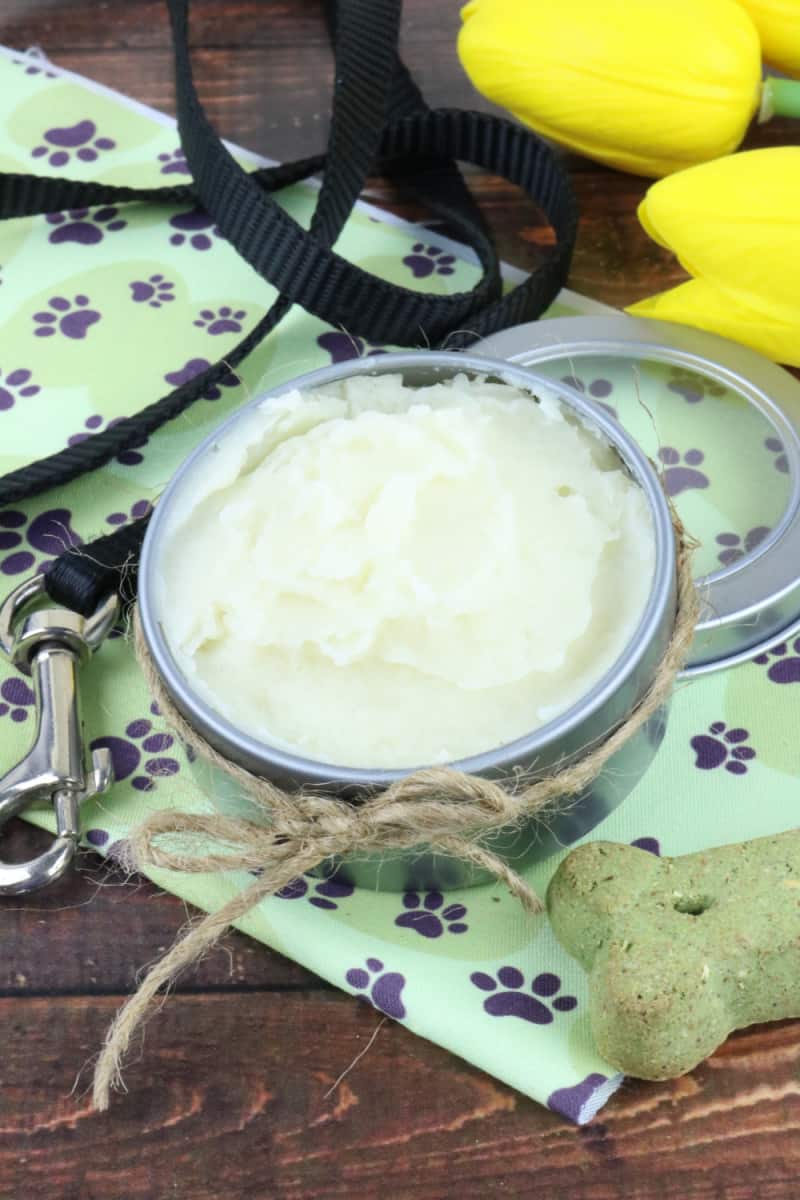
Table of Contents
Dog Nose Butter Recipe
There are a lot of products out there for dogs with dry noses. Some work better than others, but they all tend to be expensive and full of chemicals that don’t sound very good for my dog. Wouldn’t it be nice if we could just make our own natural remedy instead?
I have the perfect recipe to fix your dog’s dry nose problem without any fancy or expensive ingredients! This simple recipe includes only 3 easy-to-find ingredients and takes less than 15 minutes to prepare.
The best part is that you’ll probably already have most of these ingredients in your pantry right now! This homemade dog nose butter is also great for dry, cracked paws too!
Ingredients:
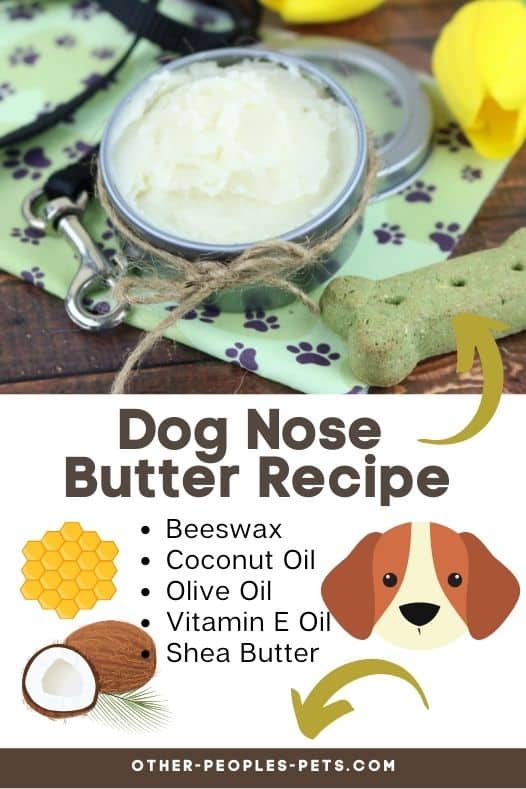
- 2 Tbsp Beeswax
- 2 Tbsp Coconut Oil
- 1 Tbsp Olive Oil
- 1 Tsp Vitamin E Oil
- 18 grams Shea Butter (about 1 tbsp)
How do you make dog nose butter?
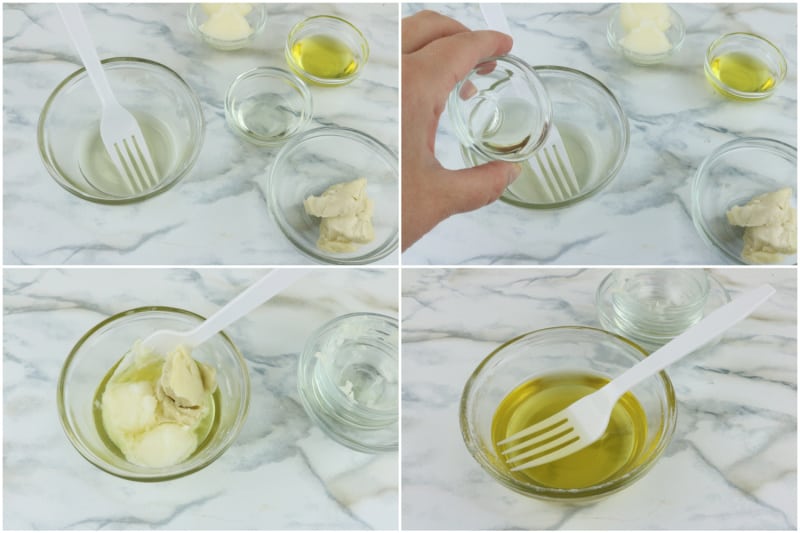
Step 1: In a microwave-safe dish add wax and heat in 20-second intervals until fully melted. Stir in between heatings.
Step 2: Add everything else to wax and mix well. You may need to reheat as you want it to be liquid and fully mixed.
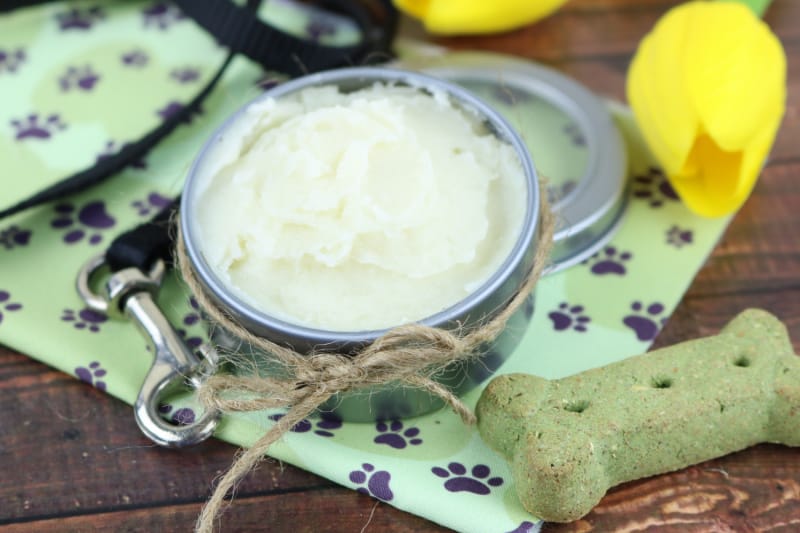
Step 3: Pour mixture into a container and allow to cool before using. It will be firm when cooled. If you want more of a whipped texture like in the picture. Scrape with a spoon or knife to soften it up and place it back in the container.
I usually make mine in a 4-ounce canning jar. Once the mixture has cooled completely, screw on a lid and rub it onto your dog’s nose every few days to keep their nose smooth and moisturized.
What is dog nose butter for?
This homemade dog nose butter is perfect for dry, cracked noses. Just rub a very small amount onto your dog’s wet nose to hydrate and moisturize. Just remember, a little goes a long way!
If your dog’s nose is cracked and bleeding I recommend you take them to the vet. Severely cracked noses can be very serious in dogs because they aren’t able to stop the bleeding like we are. I would hate for anyone to think that this homemade remedy will work on serious problems.
Dry, cracked noses is one of the most common skin problems in dogs, especially in the winter when their noses are exposed to cold wind and dry air. If you feel like your dog’s nose looks rough and dry, give this easy recipe for an all-natural homemade dog nose butter a try.
More dog articles
If you enjoyed this dog nose butter recipe, you can also check out my other homemade remedies for dogs at the link below:
- Homemade Dog Ear Cleaner Wipes – A simple way to clean your dog’s ears without using harmful chemicals.
- Homemade Dog Paw Balm Recipe – This easy recipe is a great way to fix your dog’s sore paws.
- DIY Dog Toys – A simple tutorial for making your own dog toy out of fleece.
- Homemade Dog Shampoo – Wash, lather, and rinse all in one bar! A great alternative to liquid dog shampoo.
- Best Homemade Dog Food – Learn more about feeding a raw dog food diet.
- How to Stop a Puppy from Biting – A simple tip that I use on my puppies when they start… biting!
- DIY dog toothapste
- How to clean a cat tree
Dog Nose Butter Recipe
If your dog's nose is rough and you're wondering how to help, keep reading. This Dog Nose Butter recipe is the perfect way to soothe their nose.
Materials
- 2 Tbsp Beeswax
- 2 Tbsp Coconut Oil
- 1 Tbsp Olive Oil
- 1 Tsp Vitamin E Oil
- 18 grams Shea Butter (about 1 tbsp)
Tools
- microwave
Instructions
- In a microwave-safe dish add wax and heat in 20-second intervals until fully melted. Stir in between heating.
- Add everything else to wax and mix well. You may need to reheat as you want it to be liquid and fully mixed.
- Pour mixture into a container and allow to cool before using. It will be firm when cooled. If you want more of a whipped texture like in the picture. Scrap with a spoon or knife to soften it up and place it back in the container.

Ellen runs a small pet sitting business in southern Vermont. She has experience with a variety of small animals, dogs and cats. She has also cared for ducks, chickens and rabbits. Combined, she has over 20 years of experience in pet care and pet sitting.