Last Updated on December 2, 2022 by ellen
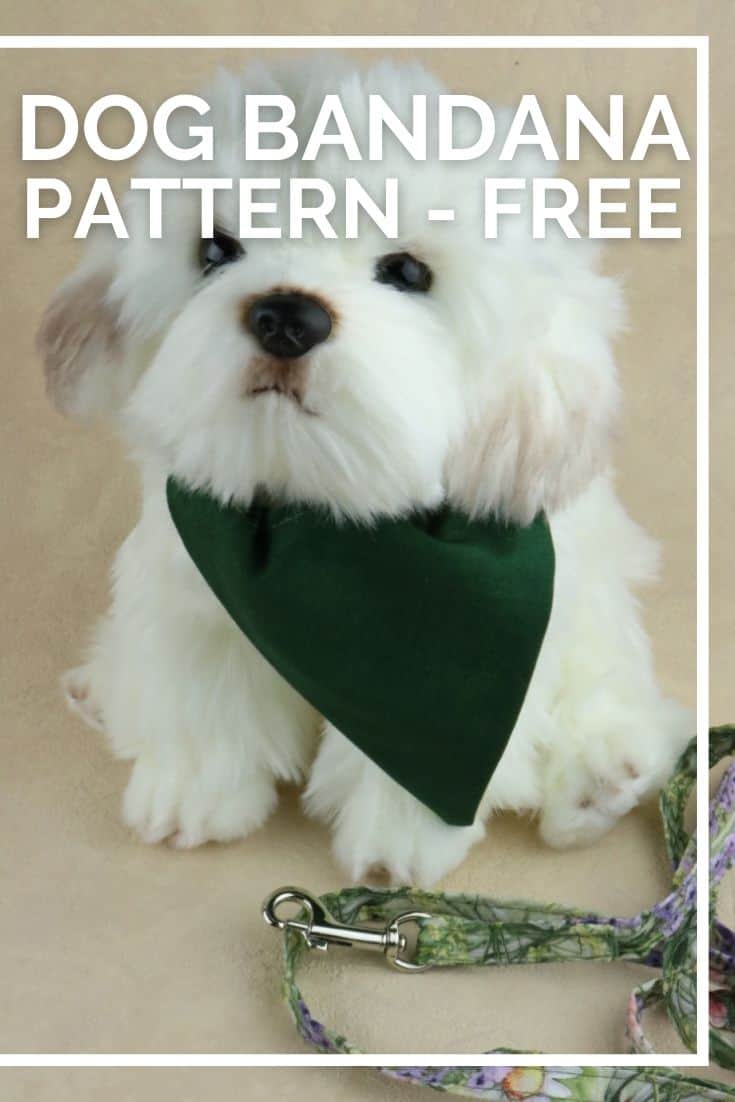
When you’re a dog owner, it can be hard to find cute and stylish accessories for your pet. The solution is simple, make a dog bandana yourself!
Posts may be sponsored. This post contains affiliate links, which means I will make a commission at no extra cost to you should you click through and make a purchase. As an Amazon Associate I earn from qualifying purchases.
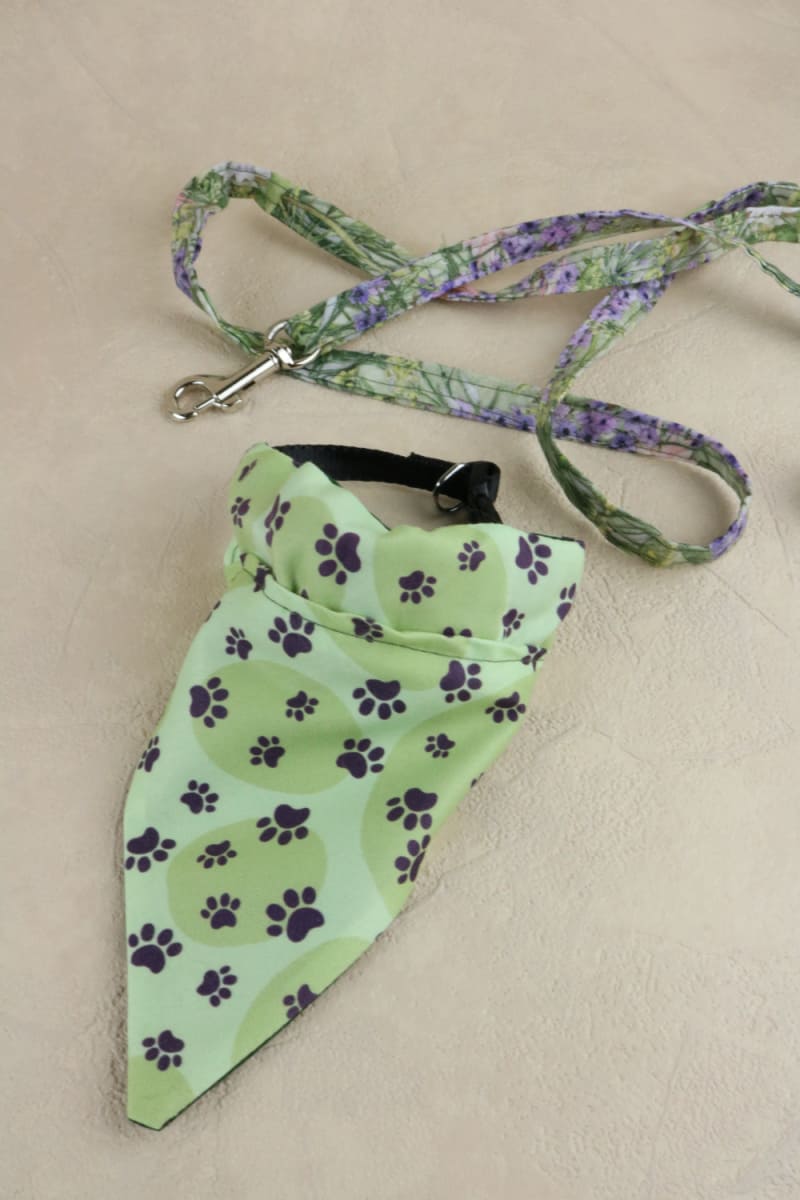
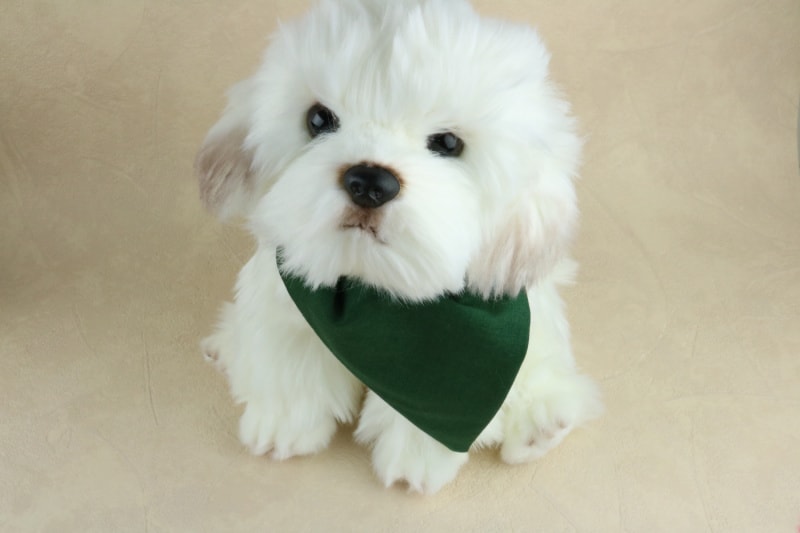
With our step-by-step guide on how to make a dog bandana, you’ll have the cutest accessory in no time! Your pup will look adorable wearing this handmade bandana. You’ll also save money as opposed to buying them from stores where they cost $15+.
Check out these easy DIY Projects for pet owners.
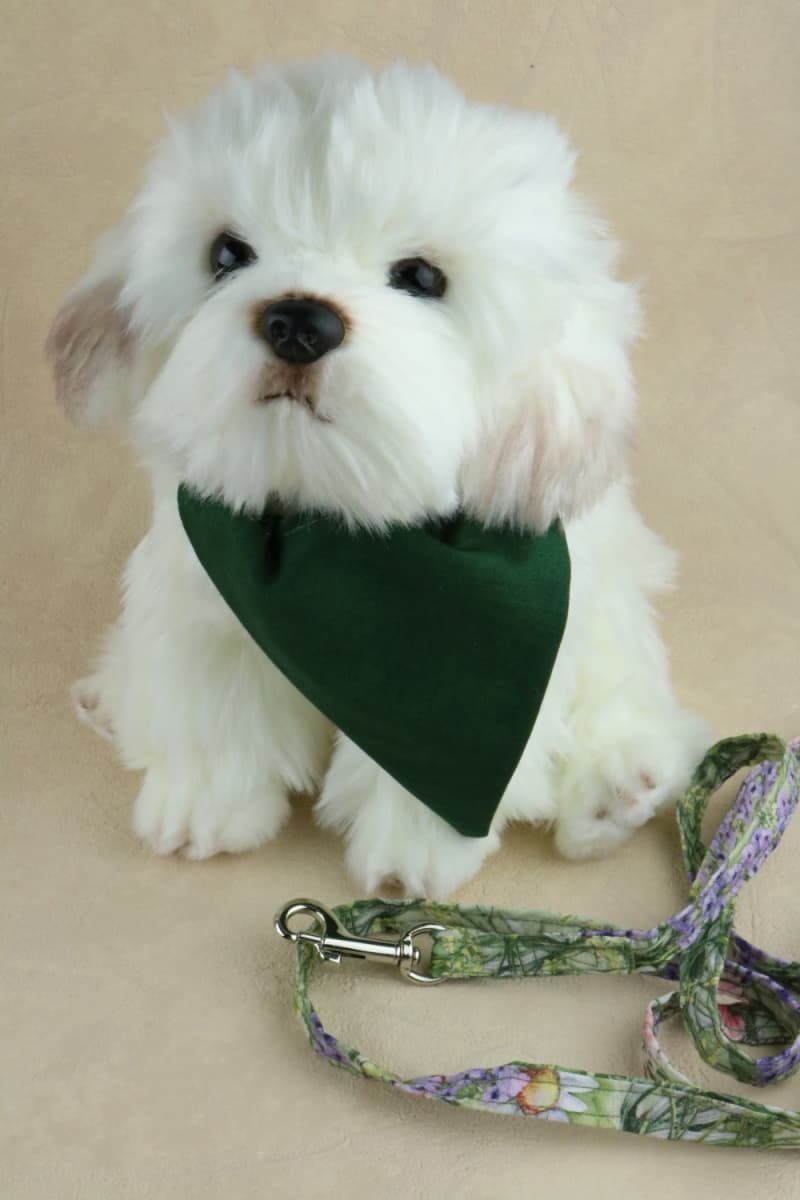
Table of Contents
Make a Dog Bandana
You won’t believe how easy it is to make this project. It’s the best DIY for your pup! You may also want to try this Nylon Rope Dog Leash or this Snuffle Ball Toy.
First off, you’ll want to gather all of your materials. Then we can get started on making our dog bandana. While this may seem obvious, it’s still worth noting that you should make sure you have all of these materials before continuing with the project.
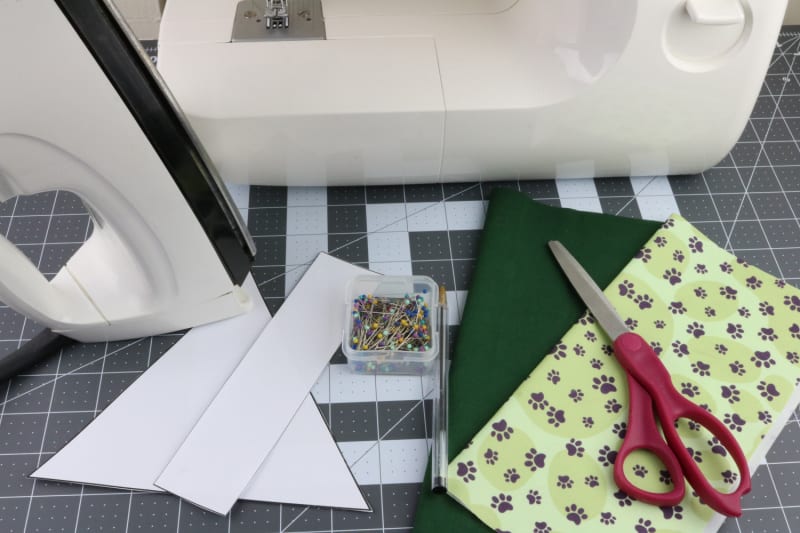
What you will need
- Sewing Machine
- Thread (match color of the fabric)
- Scissors
- Pins or Clips
- 1 Paw Print Piece 10″x10″ Fabric (or print of choice)
- 1 Green Piece 10″x10″ Fabric (or color of choice)
- Cut Out Printed Pattern (see below)
- Fabric Chalk (pen or pencil)
- Iron & Ironing Board
How to measure your dog
This pattern is for a small dog. You can easily make it larger by simply increasing the length of the fabric. Try using your dog’s collar as a guide for how large it should be.
So, for an approximate measurement try this:
For small dogs, cut 14″ of fabric. For medium-sized canines, trim 18″. Large pooches need 22″, and for those who take up a lot of space go 26″.
What is the best fabric for a dog bandana?
Create a bandana for your canine by choosing cotton or cotton blend fabrics. The fabric can be chosen to match the personality of the dog and its owner’s style!
Cotton fabric makes excellent material choices because its soft texture is gentle on your pet’s skin. Plus it’s durable enough to withstand lots of wear-and-tear from roughhousing with other dogs at the park. You can find these types of fabrics in many colors so that you’re sure to get one that matches your pup perfectly
How to make a dog bandana
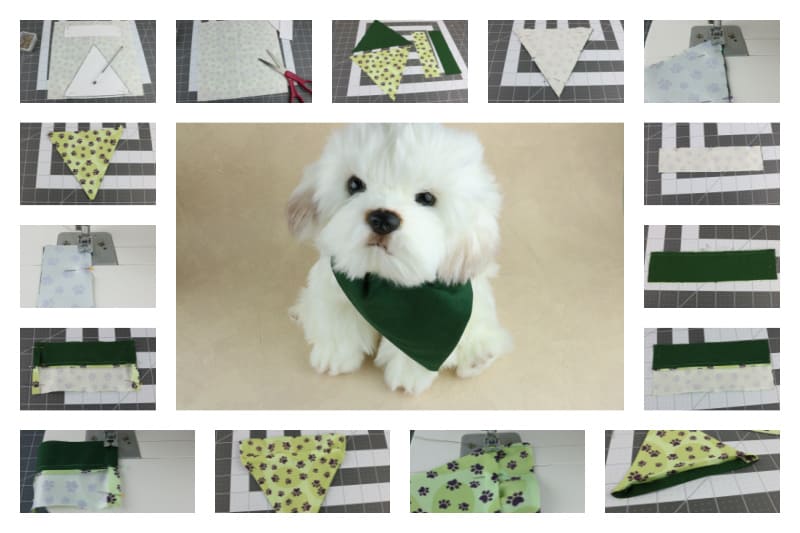
- Lay the fabrics so that it is face down.
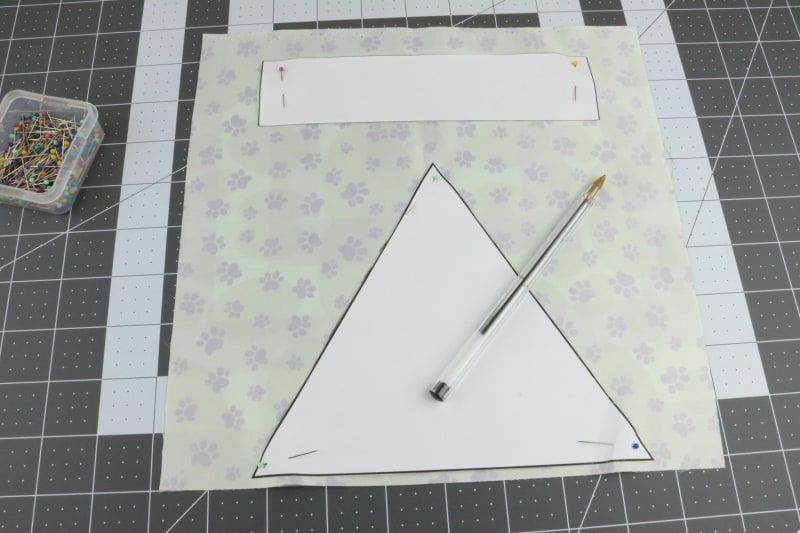
- Put the cut-out pattern on top of the fabrics and pin it in place.
- Using the chalk, pen or pencil, mark all the way around the pattern pieces.
- Now remove the pattern and use the scissors to cut out the pieces. You will need one pattern cut out of each fabric.
- Lay the two triangle pieces on top of each other so the right sides are touching. Pin them together down the two sides.
- Using a 1/4 seam allowance, sew them together down the two sides but leaving the top open.
- Now turn it right side out and iron it so that it is nice and flat.
- Lay the two long strips on top of each other so the right sides are touching. Pin them together along one of the longest sides.
- Using 1/4 seam allowance sew them together along that one side.
- Now lay it face down and iron it so that the seam flaps are opened.
- With the fabric still laying face down, fold each of the ends over by 1/4 inch or just slightly over 1/4 and pin in place.
- Sew that pinned area down try to stay about the middle of that fold. Do both ends.
- Fold the flaps in half along the seam and iron flat.
- On the raw edge side of the triangle piece fold them in by about 1/4 inch. Then insert the raw edge side of the long pieces inside of the triangle piece and pin them in place.
- The last step is to sew them together. Sew across the pinned area to sew together. Be sure to do a backstitch at the start and finish of this one.
Finally, to make a dog bandana, get your free dog bandana sewing pattern here.
How to Make a Dog Bandana
When you're a dog owner, it can be hard to find cute and stylish accessories for your pet. The solution is simple, make a dog bandana yourself!
Materials
- Sewing Machine
- Thread (match color of the fabric)
- Scissors
- Pins or Clips
- 1 Paw Print Piece 10″x10″ Fabric (or print of choice)
- 1 Green Piece 10″x10″ Fabric (or color of choice)
- Cut Out Printed Pattern
- Fabric Chalk (pen or pencil)
- Iron & Ironing Board
Tools
- Sewing machine
Instructions
- Lay the fabrics so that it is face down.
- Put the cut-out pattern on top of the fabrics and pin it in place.
- Using the chalk, pen or pencil, mark all the way around the pattern pieces.
- Now remove the pattern and use the scissors to cut out the pieces. You will need one pattern cut out of each fabric.
- Lay the two triangle pieces on top of each other so the right sides are touching. Pin them together down the two sides.
- Using a 1/4 seam allowance, sew them together down the two sides but leaving the top open.
- Now turn it right side out and iron it so that it is nice and flat.
- Lay the two long strips on top of each other so the right sides are touching. Pin them together along one of the longest sides.
- Using 1/4 seam allowance sew them together along that one side.
- Now lay it face down and iron it so that the seam flaps are opened.
- With the fabric still laying face down, fold each of the ends over by 1/4 inch or just slightly over 1/4 and pin in place.
- Sew that pinned area down try to stay about the middle of that fold. Do both ends.
- Fold the flaps in half along the seam and iron flat.
- On the raw edge side of the triangle piece fold them in by about 1/4 inch. Then insert the raw edge side of the long pieces inside of the triangle piece and pin them in place.
- The last step is to sew them together. Sew across the pinned area to sew together. Be sure to do a backstitch at the start and finish of this one.

Ellen runs a small pet sitting business in southern Vermont. She has experience with a variety of small animals, dogs and cats. She has also cared for ducks, chickens and rabbits. Combined, she has over 20 years of experience in pet care and pet sitting.
